
Table of Contents
ToggleDoomfist isn’t just another Overwatch tank, he’s the embodiment of explosive, high-risk, high-reward gameplay. Nicknamed the “One Punch Man” by the community, Doomfist has carved out a reputation as one of the most devastating heroes in the game when played with precision and aggression. Whether you’re climbing ranks or grinding competitive scrims, understanding how to maximize his burst damage potential can mean the difference between carrying a teamfight and getting fed to the enemy. This guide breaks down everything you need to master the One Punch Man playstyle, from ability mechanics to pro-level tactics.
Key Takeaways
- Doomfist’s “One Punch Man” playstyle relies on high-risk, high-reward burst damage through wall-pin combos and Meteor Strike to eliminate enemies before they can regroup.
- Mastering wall-pinning with Rocket Punch (200 total damage on pin) and chaining abilities through Seismic Slam setups are the core mechanics that separate casual players from top-tier Doomfist performers.
- Roadhog, Symmetra, and Brigitte directly counter Doomfist; teams can further shut down his aggression through grouped positioning, defensive cooldown stacking, and map awareness near flank routes.
- Building ultimate charge through constant ability spam and managing cooldown resets via Best Defense passive shields enable Doomfist to sustain momentum and snowball through teamfights.
- In 2026’s competitive meta, Doomfist occupies a niche but viable role on verticality-heavy maps like Nepal and Lijiang Tower, thriving in solo-queue ladder play while seeing situational professional use.
Who Is One Punch Man in Overwatch?
The Character Behind the Mythic Playstyle
Doomfist, Doomfist (Akande Ogundimu), is Overwatch’s primary dive tank and the closest thing the game has to a one-shot hero. His playstyle centers on high-mobility engages followed by catastrophic burst damage that can eliminate squishier heroes in seconds. Unlike traditional tanks who soak damage and protect teammates, Doomfist operates as an aggressive playmaker who punches through enemy lines, eliminates key targets, and escapes before retaliation arrives.
His identity has evolved significantly since his 2017 release. Early iterations were buggy and frustrating to play against, leading to numerous balance patches. By 2026, Doomfist has settled into a well-understood role in the meta: a feast-or-famine initiator whose mechanical skill ceiling separates casual players from genuinely threatening opponents.
Why Doomfist Earned the One Punch Man Nickname
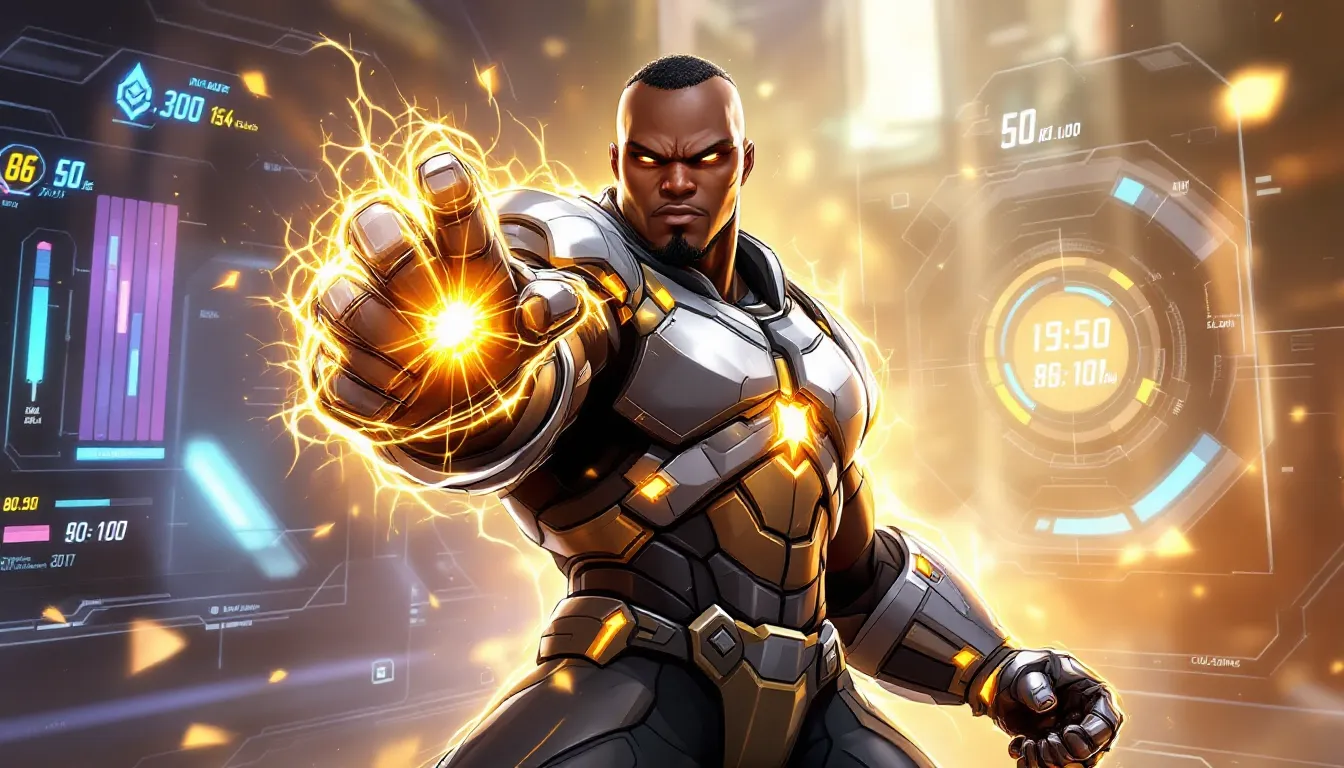
The “One Punch Man” moniker comes from his ultimate ability, Meteor Strike, which can eliminate entire teams with a single impact if they’re grouped closely enough. But the nickname also encompasses his entire kit, his Rocket Punch alone deals 100 damage and can pin enemies into walls for additional chip damage. Combine that with Seismic Slam, landing a Meteor Strike, and you’re looking at eliminations that feel less like a fight and more like a natural disaster.
What makes Doomfist truly deadly is his kill confirmation potential. Unlike heroes who need multiple shots or seconds to confirm eliminations, Doomfist can reset his cooldowns mid-teamfight through his passive ability, Best Defense, which grants him temporary shields when he deals damage. This creates a snowball dynamic: one successful punch leads to shield regen, which enables the next ability, which leads to another elimination, which resets the cycle. It’s why high-level Doomfist play feels nearly unstoppable in the hands of confident players.
Doomfist’s Ability Kit Explained
Primary Fire and Hand Cannon Mechanics
Doomfist’s Hand Cannon is his weapon, firing short-range bursts that function similarly to a spread-based shotgun. At point-blank range, a full burst deals 40 damage (4 pellets × 10 damage each). The damage falls off quickly with distance, making it a close-quarters tool rather than a medium-range poke weapon.
The Hand Cannon serves two purposes: finishing off low-health targets and keeping Doomfist engaged while cooldowns recharge. It’s not his primary damage source, his abilities are, but it keeps pressure on enemies and prevents dead time during rotations. Most players fire a quick burst between ability usage rather than maintaining sustained fire.
Effective Hand Cannon play means positioning yourself at close range where your spread hits multiple pellets. At medium distance, you’re wasting ammo.
Seismic Slam and Rocket Punch Setup
Seismic Slam (cooldown: 7 seconds) is Doomfist’s mobility and setup tool. He leaps into the air and slams down in a targeted area, dealing 65 damage and knocking enemies backward. It’s not the damage that makes Seismic Slam powerful, it’s the repositioning. A smart Seismic Slam can:
- Jump over enemy positions to land behind them
- Knock grouped enemies into open space
- Access high ground or escape routes quickly
- Create separation before committing to a Rocket Punch
Rocket Punch (cooldown: 7 seconds) is the money move. Doomfist charges forward in a straight line, dealing 100 damage on impact. If he hits an enemy into a wall, obstacle, or environmental hazard, they take an additional 100 damage (200 total). Wall-pin eliminations are the foundation of Doomfist’s one-shot potential.
The setup matters tremendously. A raw Rocket Punch into open space is low-damage and risky. A Rocket Punch that pins an enemy into a wall or environmental geometry is a guaranteed elimination on most supports and DPS heroes. High-level Doomfist play revolves around finding walls, setting enemies up with Seismic Slam, and using those walls to secure eliminations.
Meteor Strike: The Ultimate One-Shot Potential
Meteor Strike is Doomfist’s ultimate ability, and it’s where the “One Punch Man” nickname truly earns its weight. He launches himself into the air and impacts a target area with devastating force, dealing:
- 300 damage at the center
- 100+ damage in a moderate radius around the impact
- Knockback effect that separates enemies
The key stat: Meteor Strike charges in 1.5 charges per second from ability usage, making it relatively quick to build with aggressive play. A well-timed Meteor Strike during a grouped teamfight can eliminate 2-3 enemies instantly and leave survivors low enough for finishing. In 2026, the ult remains one of the most game-changing tools in Overwatch.
Usage timing is everything. Early ult usage spreads enemies and creates chaos but might not secure eliminations. Late-game Meteor Strikes (when enemies are grouped and low) turn fights decisively in your team’s favor.
Mastering the One Punch Man Playstyle
Positioning for Maximum Burst Damage
Doomfist excels in chaotic, close-quarters engagements where his burst damage overwhelms enemies before they can regroup. Effective positioning means:
Playing around high ground and walls: Doomfist needs environmental features to maximize Rocket Punch value. On maps like King’s Row or Nepal, identify walls and high ground that compress enemy positions. This is where your wall-pins happen.
Understanding flank routes: Many high-level Doomfist players position themselves in locations where Seismic Slam or Rocket Punch catches enemies off-guard. This might mean flanking through side routes, accessing balconies, or dropping from elevated positions. The goal is initiating from unexpected angles.
Maintaining escape options: One Punch Man is still mortal. Always have a Seismic Slam ready for escape or a nearby health pack for recovery. Never commit to a Rocket Punch if you can’t retreat afterward.
Map knowledge is non-negotiable. Learn spawn positions, common enemy holding areas, and where walls exist relative to objective locations. Doomfist on a map where he knows every wall and flank is exponentially deadlier than Doomfist on unfamiliar terrain.
Combos That Guarantee Eliminations
Doomfist’s true power emerges from ability chaining. Here are the core elimination combos:
The Wall Pin Combo (Rocket Punch into wall)
- Initiate with Rocket Punch directly into an enemy pressed against a wall or environmental geometry
- Wall-pin damage = 100 (initial) + 100 (pin) = 200 total damage
- Most supports and squishy DPS die instantly: tanks and armored heroes take severe damage
- Requires positioning enemies near walls beforehand
The Seismic Setup Combo (Seismic Slam + Rocket Punch)
- Lead with Seismic Slam to knock enemies into a wall or open space
- Follow immediately with Rocket Punch while they’re in knockback animation
- The combo prevents enemy counterplay and resets cooldowns if you secure the elimination via Best Defense
- Timing: Seismic Slam, wait 0.5 seconds, then Rocket Punch for guaranteed hit
The Meter Strike Elimination (grouping enemies + ultimate)
- Use Seismic Slam and Rocket Punch to split enemy team or confirm picks
- When 2+ enemies are grouped within ultimate radius, unleash Meteor Strike
- A clean ult on grouped enemies at 50% health or lower = team wipe potential
- Watch pro play to see how players bait enemy clusters before ulting
The Hand Cannon Finish (burst + close-range cleanup)
- After securing chip damage with abilities, finish with Hand Cannon bursts
- Useful for confirming kills on heroes with shields or high health pools
- Never spray Hand Cannon at range: it’s a close-quarters tool only
Advanced Technique Tips and Tricks
Cooldown banking: Doomfist’s strength lies in ability cycling. After a Rocket Punch elimination, Best Defense shields grant you time to reposition and rebuild cooldowns. Aggressive players chain abilities constantly: passive players waste downtime between casts.
Momentum preservation: Rocket Punch builds momentum. Experienced players cancel the momentum mid-punch to adjust angles or avoid enemy fire, then re-engage. This requires controller/mouse sensitivity tuning and practice.
Ult building through ability spam: Since Meteor Strike charges from ability usage, focus on landing Seismic Slams and Rocket Punches constantly (even on armor or shields) to build ult charge. Don’t wait for “guaranteed” picks, spam abilities and build ult in the background.
Wall-pin prediction: Experienced Doomfist players predict where enemies will be, not where they are. Use Rocket Punch against fleeing targets, anticipating they’ll retreat into walls or corners. Prediction punches are the hallmark of top-500 Doomfist gameplay.
Hero matchup awareness: Know which heroes you can one-shot (Tracer, Mercy, Ana, Zen) versus heroes you can’t (Reinhardt, Roadhog, D.Va). This informs your ultimate target priority and ability usage patterns. Against heavily-armored teams, focus on landing Meteor Strikes instead of relying on Rocket Punch walls.
Countering One Punch Man Tactics
Defensive Heroes and Their Advantages
While Doomfist is strong, he’s far from invincible. Certain heroes directly counter his playstyle:
Roadhog is perhaps Doomfist’s hardest counter. His Hook catches Doomfist mid-punch or during vulnerability windows, and Take a Breather sustains through burst damage. A hooked Doomfist is often a dead Doomfist. Roadhog players specifically play around Doomfist spawns and flank routes.
Symmetra creates territorial denial through Teleporter positioning and turrets. Doomfist can’t safely approach grouped Symmetra + turrets, and her Photon Barrier shields reduce his burst potential. Strategic turret placement shuts down Doomfist flank routes entirely.
Brigitte provides armor that reduces Doomfist’s burst damage and Bash stuns him mid-ability. A coordinated Brigitte player can chain stuns and prevent Doomfist resets, starving him of Best Defense shield generation.
Winston can match Doomfist’s dive patterns and Bubble negates his close-range burst. Coordinated Winstons prevent Doomfist from ulting by constant harassment and bubble placement.
Sombra completely shuts Doomfist down via EMP, which disables his abilities entirely. A good Sombra times hacks to prevent Rocket Punch usage or ultimate availability. This is why Doomfist players respect Sombra as a soft counter.
Team Composition Strategies Against Doomfist
Individual counters matter, but team structure is what truly stops One Punch Man:
Stacking defensive cooldowns: Teams that maintain defensive abilities like shields, bubbles, or damage mitigation make Doomfist’s burst less lethal. A Mercy pocket with damage boost can outheal his burst on armored heroes: a coordinated team can dump cooldowns to survive the initial combo.
Control and spam damage: Heroes with sustained range and poke damage (Pharah, Junkrat, Widowmaker) pressure Doomfist from distances he can’t close. Junkrat’s Trap specifically immobilizes him during vulnerable engagement windows.
Grouped, wall-aware positioning: Teams that avoid clustering near walls prevent easy Meteor Strike eliminations. Spread formations reduce ult effectiveness and force Doomfist to target-isolate rather than team-wipe.
Communication and early warning: Callouts for Doomfist positioning allow teams to rotate and collapse on him. A Doomfist diving alone into 5 grouped enemies is dead: a Doomfist who coordinates a timing with team pressure is unstoppable.
Deny flank routes: Defensive players should actively patrol Doomfist’s likely entry vectors. An Ana or McCree covering flanks can secure picks on Doomfist before he reaches optimal positioning.
One Punch Man in Competitive Play
Meta Relevance and Pick Rates
Doomfist’s competitive viability has shifted since his initial release. In early 2026, he occupies a niche but respected role in the Overwatch meta, particularly in:
Dive-heavy compositions: Teams running Winston-Doomfist-Tracer create overwhelming speed and burst, especially on open maps. This archetype thrives at lower ranks and mid-tier competitive play but struggles against organized defensive teams.
Solo-queue ladder play: Doomfist’s self-sufficiency and ability to create picks makes him a climbing hero at mid-tier SR. One-trick Doomfist players regularly hit Master and Grandmaster ranks purely through mechanical skill and map knowledge.
Niche professional usage: In esports, Doomfist sees occasional play on specific maps (Nepal, Lijiang Tower) where walls and verticality enable his kit. But, meta tank priority often favors Reinhardt or D.Va in structured team environments. Professional Doomfist is situational, not staple.
Recent patches in 2026 have kept Doomfist relatively stable. A minor cooldown adjustment to Seismic Slam (increased from 6 to 7 seconds) made him slightly less oppressive without gutting his viability. The community expects his pickrate to remain consistent through 2026 seasons.
Pro Player Strategies and Highlight Moments
Top-tier Doomfist players demonstrate several consistent strategic patterns that separate them from casual users. Resources like The Loadout’s competitive guide coverage track meta shifts and pro builds across FPS titles.
Early rotation and wall mapping: Professionals spend the first 30 seconds of a match mapping walls, identifying flank routes, and planning engagement angles. This positioning work happens before the first teamfight and dictates Doomfist’s influence throughout the round.
Mechanical prediction: Professional Doomfist clips frequently showcase wall-pins against targets moving unpredictably. These predictions require hundreds of hours of practice and intimate map knowledge. Casual players punch randomly: pros punch where enemies will be.
Ult economy and timing: Pros build ult charge intentionally by spacing out ability usage (allowing cooldowns to naturally reset). They save Meteor Strike for critical moments, not spamming it whenever it’s available. A single well-timed ult secures matches in pro play.
Team communication and setup: Professional Doomfist plays coordinate with teammates. The tank might land Seismic Slam to interrupt enemy positioning, then the DPS follows up with burst damage while Doomfist secures a flank elimination. It’s choreographed chaos, not solo play.
Matchup swaps: Top players recognize bad matchups and proactively swap if the enemy team counters hard (like Roadhog hook spam). One Punch Man players at the highest levels are flexible enough to recognize when Doomfist isn’t the right tool.
Conclusion
Mastering Doomfist’s One Punch Man playstyle demands mechanical precision, map awareness, and strategic understanding of engagement timing. The ability to secure high-impact eliminations through wall-pins and coordinated ability chains separates confident Doomfist players from frustrated ones.
Successful gameplay revolves around positioning near environmental features, predicting enemy locations, and cycling cooldowns aggressively to sustain momentum through Best Defense shield resets. Understanding your counters, particularly Roadhog, Symmetra, and coordinated defensive teams, allows you to make informed decisions about when to dive and when to retreat.
In 2026’s Overwatch meta, Doomfist remains a powerful but specialized pick. He’ll never be a one-trick climb guarantee at the highest tiers, but for players with the mechanical discipline and map sense to back up his kit, he’s one of the most rewarding and devastating heroes to pilot. The One Punch Man fantasy is real, you just need the practice and positioning to make it happen.


